Browser Extension Guide
In this guide, we’ll walk you through the steps of creating a browser extension using Plasmo with Better Auth for authentication.
If you would like to view a completed example, you can check out the browser extension example.
The Plasmo framework does not provide a backend for the browser extension. This guide assumes you have a backend setup of Better Auth and are ready to create a browser extension to connect to it.
Setup & Installations
Initialize a new Plasmo project with TailwindCSS and a src directory.
Then, install the Better Auth package.
To start the Plasmo development server, run the following command.
Configure tsconfig
Configure the tsconfig.json file to include strict mode.
For this demo, we have also changed the import alias from ~ to @ and set it to the src directory.
Create the client auth instance
Create a new file at src/auth/auth-client.ts and add the following code.
Configure the manifest
We must ensure the extension knows the URL to the Better Auth backend.
Head to your package.json file, and add the following code.
You're now ready!
You have now set up Better Auth for your browser extension.
Add your desired UI and create your dream extension!
To learn more about the client Better Auth API, check out the client documentation.
Here’s a quick example 😎
Bundle your extension
To get a production build, run the following command.
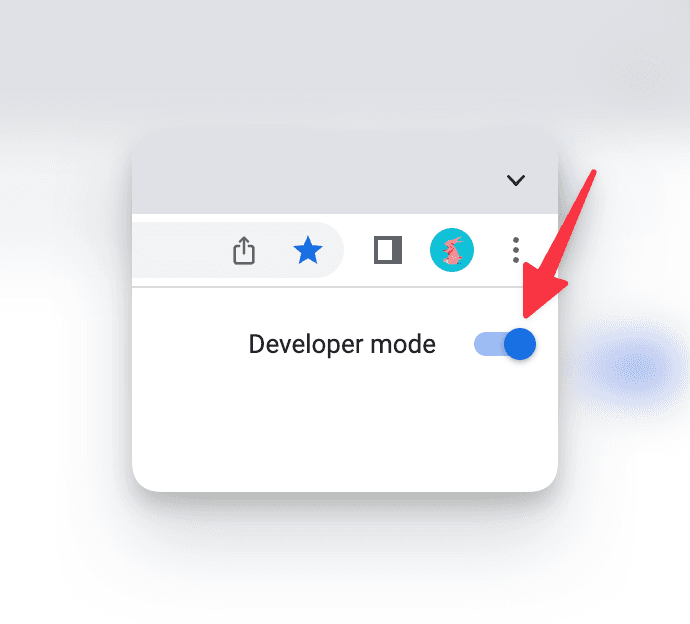
Head over to chrome://extensions and enable developer mode.

Click on "Load Unpacked" and navigate to your extension's build/chrome-mv3-dev (or build/chrome-mv3-prod) directory.
To see your popup, click on the puzzle piece icon on the Chrome toolbar, and click on your extension.
Learn more about bundling your extension here.
Configure the server auth instance
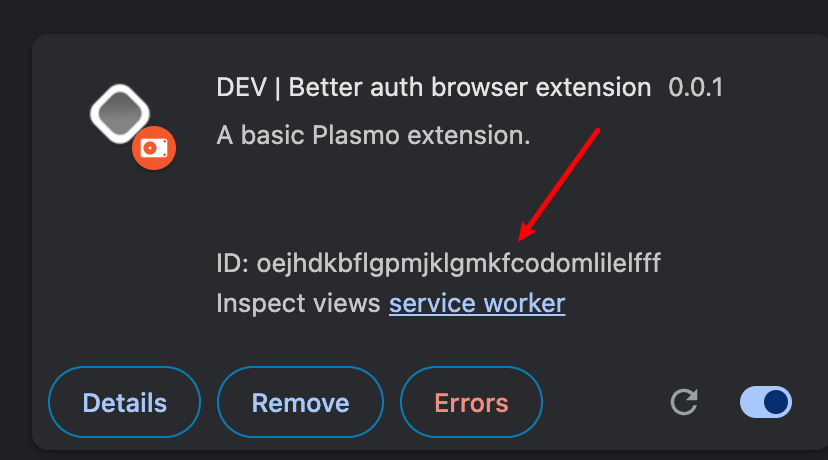
First, we will need your extension URL.
An extension URL formed like this: chrome-extension://YOUR_EXTENSION_ID.
You can find your extension ID at chrome://extensions.

Head to your server's auth file, and make sure that your extension's URL is added to the trustedOrigins list.
That's it!
Everything is set up! You can now start developing your extension. 🎉
Wrapping Up
Congratulations! You’ve successfully created a browser extension using Better Auth and Plasmo. We highly recommend you visit the Plasmo documentation to learn more about the framework.
If you would like to view a completed example, you can check out the browser extension example.
If you have any questions, feel free to open an issue on our GitHub repo, or join our Discord server for support.